
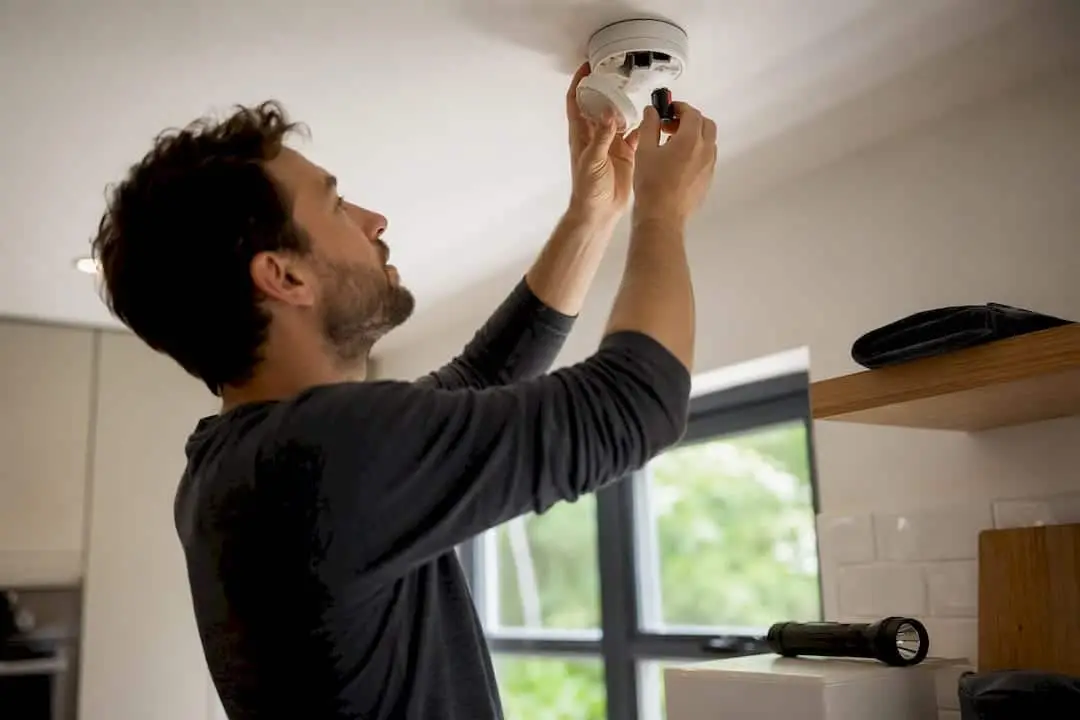
Yes, you can replace the battery in most residential smoke and fire alarms yourself, and you should do it as soon as the unit chirps. Use the battery type printed inside the compartment, install it correctly, then press and hold the test button until the alarm sounds. If the unit is at or past its recommended service life, replace the whole alarm instead of just the battery. For hardwired units you must detach from a live base, cut the power first or call a professional.
TL;DR:
- Most smoke alarm batteries should be replaced immediately when the unit chirps, using the type specified by the manufacturer and installed correctly.
- Hardwired alarms require powering down the circuit, carefully disconnecting wiring, and using a photo to ensure correct battery orientation during replacement.
- If a new battery does not stop chirping after proper installation and resetting, the alarm likely has reached the end of its service life and needs replacement.
- Fully replacing an alarm is recommended after 8 to 10 years or if the device is sealed with a 10-year lithium battery built-in, regardless of battery swaps.
- It is best to call a professional electrician if multiple interconnected alarms malfunction or show wiring issues, but battery replacements in standalone units are simple DIY tasks.
Table of Contents
- How Do You Replace a Fire Alarm Battery Safely?
- What Battery Type Does Your Smoke Alarm Need?
- How Do You Replace Batteries in a Hardwired Alarm?
- Why Does the Alarm Still Chirp After a New Battery?
- How Often Should You Test and Replace Fire Alarm Batteries?
- When Should You Replace the Whole Alarm Instead of the Battery?
- When Should You Call a Fire Protection Professional?
- Get Professional Help With Fire Alarm Systems
- Manufacturer and Retailer Resources for Battery Replacement
- Sources
How Do You Replace a Fire Alarm Battery Safely?
Fire alarm battery replacement is one of those five-minute jobs that people put off for months, usually because the chirping starts at 2 a.m. and everyone just wants it to stop. Here’s the reliable way to do it right the first time.
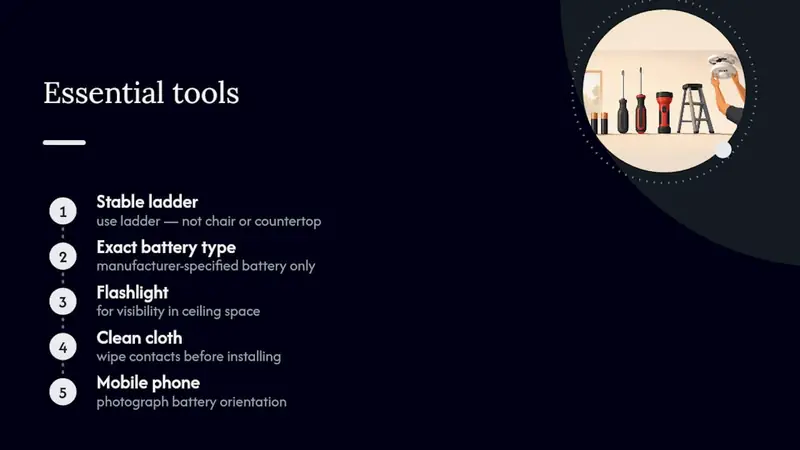
1. Gather your tools. You need a stable ladder (not a chair, not a countertop), the exact battery type your manufacturer specifies, a flashlight, and a clean cloth for wiping contacts.
2. Check the power situation. If your alarm is battery-only, you can skip this step entirely. If it’s hardwired with a backup battery and you need to remove the whole unit from its mounting base, only cut the breaker if the base itself has exposed live wiring you must handle. Most models let you open a battery hatch or twist off the cover while the unit stays mounted.
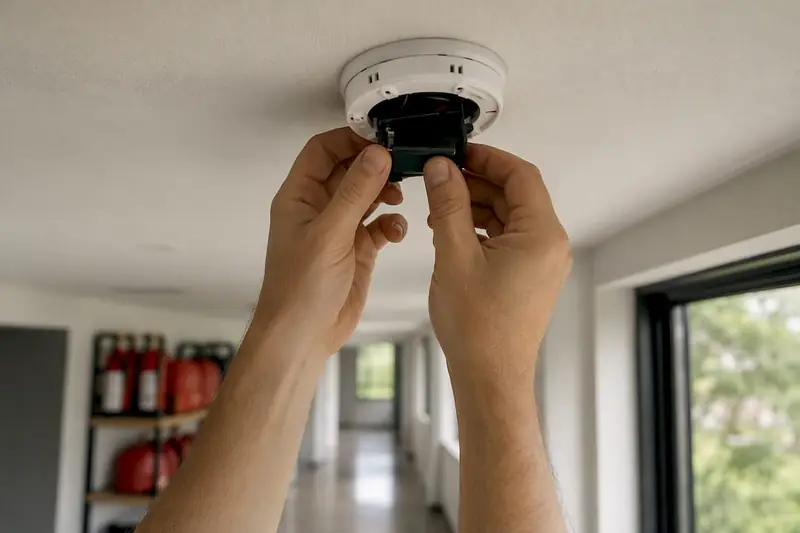
3. Remove the old battery. Twist the alarm counterclockwise to release it from its mounting bracket, or open the battery drawer depending on your model. Note how the old battery sits before you pull it out.
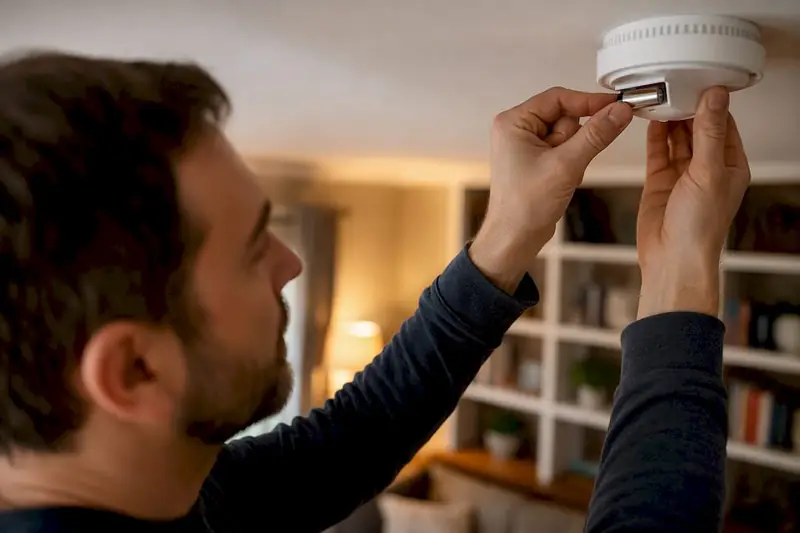
4. Install the new battery. Match the polarity markings molded into the compartment. A battery inserted backward is one of the most common reasons a fresh battery doesn’t fix anything. Seat it fully and close the drawer or hatch until you hear it click.
5. Test before you walk away. Press and hold the test button until the alarm sounds at full volume, loud enough to make you want to cover your ears. Remount the unit on its base, then test it a second time once it’s back in place.
Pro Tip: Photograph the battery orientation with your phone before removing it. It takes two seconds and eliminates any guessing when you’re reassembling the unit on a ladder.
What Battery Type Does Your Smoke Alarm Need?
Check the manufacturer label on the back of the unit or printed inside the battery compartment before you buy anything. Grabbing the wrong chemistry at the store is the single most avoidable mistake homeowners make with fire alarm battery replacement.
Residential alarms typically use one of these:
- 9V battery (PP3 style): The most common type in standalone smoke detectors, usually replaceable with an alkaline or lithium 9V.
- AA or AAA battery packs: Some models use two or three of these instead of a single 9V cell.
- Replaceable lithium 9V: Lasts longer than standard alkaline and is worth the extra cost in units that go through batteries fast.
- Sealed 10-year lithium cell: Built into the unit permanently. When these units reach end of life, you replace the entire alarm, not just a cell.
Avoid rechargeable batteries unless the manufacturer label explicitly permits them. Rechargeables discharge differently than alkaline or lithium cells and can trigger false low-battery warnings or fail to power the alarm during an actual emergency.
How Do You Replace Batteries in a Hardwired Alarm?
Hardwired alarms with battery backup need a bit more caution because you’re dealing with household AC wiring, not just a battery drawer. Only shut off the breaker feeding that circuit if you need to fully detach the alarm from a live wiring base to reach the battery or harness.
Before disconnecting anything, take a photo of how the wiring harness connects. It’s a small habit that saves real frustration if the plug or wire colors aren’t obvious when you reconnect. Remove the harness carefully, swap the backup battery, plug the harness back in, then restore power at the breaker.
How-to guides from major retailers walk through this exact sequence for hardwired models. If any wiring looks loose, discolored, or burnt, stop and call a licensed technician. Guessing with live household wiring is not the place to save ten minutes.
Why Does the Alarm Still Chirp After a New Battery?
A fresh battery doesn’t always stop the chirping, and that’s more common than most homeowners expect. Work through these causes in order before assuming the unit is broken.
- Confirm you installed the correct battery type and that polarity matches the markings in the compartment.
- Make sure the battery drawer or hatch is fully closed. A drawer that isn’t latched won’t complete the circuit even with a good battery inside.
- Perform a manual reset: remove the battery entirely and hold the test button for 15 to 20 seconds to drain residual charge stored in the capacitor, then reinstall the battery.
- Try a second new battery. Occasionally a battery is defective straight out of the package.
- Inspect the contacts for corrosion and wipe them clean, and check the manufacture date printed on the back for end-of-life status.
Pro Tip: That residual-charge reset trick solves more “new battery still chirping” cases than people realize. The alarm’s circuit holds a small charge even with the battery out, and that leftover charge can trigger a false chirp until it’s fully discharged.
If the chirping persists after all of that, First Alert’s own troubleshooting guidance points to one conclusion: the unit itself has reached end of life, and no battery swap will fix that.
How Often Should You Test and Replace Fire Alarm Batteries?
Testing and replacing on a schedule beats waiting for a 2 a.m. chirp to remind you. Here’s the routine that keeps a home properly protected.
- Test monthly. Press and hold the test button until you hear a loud alarm, generally above 85 decibels. A weak or silent response means the battery or unit needs attention right away.
- Replace batteries once a year, even if the alarm hasn’t chirped yet. Many manufacturers and retailers suggest doing this when clocks change for daylight saving time, since it’s an easy date to remember twice a year.
- Log the date somewhere. Write it on a sticker on the unit itself or in your home maintenance records so you’re not relying on memory.
- Clean the vents while the alarm is down for a battery change. Dust buildup inside the sensor housing is a leading cause of nuisance alarms and slow response.
Sticking to this rhythm also makes it far easier to spot when a unit is aging out, rather than replacing it based on a single false alarm.
When Should You Replace the Whole Alarm Instead of the Battery?
Every smoke alarm has a manufacture date or a “replace by” date stamped on the back, and that date matters more than most people assume. Most residential units need full replacement at 8 to 10 years, regardless of how many batteries you’ve swapped in that time.
Sealed 10-year lithium units make this simpler in one sense and less forgiving in another. There’s no battery drawer to open, so when the unit starts chirping for end of life, replacement is the only option. You cannot pry it open and drop in a fresh cell.
If an alarm keeps faulting despite correct batteries, proper seating, and a full reset, treat that as a sign of sensor degradation, not a battery problem. Replace it.
When Should You Call a Fire Protection Professional?
Swapping a 9V battery in a standalone smoke alarm is squarely a DIY job, and there’s no reason to pay someone for it. Where Reliable-fire-protection sees homeowners get into trouble is with anything involving interconnected wiring or repeated faults across multiple units.
Call a professional when you’re dealing with hardwired systems that show loose or damaged wiring, when alarms interlinked across a house start faulting together, or when you want a code-compliant replacement documented for insurance purposes. A licensed technician can inspect the interconnect wiring, confirm that every device in the system is communicating properly, swap out units that have reached end of life, and put the work on record in case your insurer or local code inspector asks for it later.
Single battery swaps on a standalone unit don’t need a technician. But once wiring, system communication, or repeated false alarms enter the picture, a professional eliminates the guesswork that DIY troubleshooting can’t fully resolve.
— Results
Get Professional Help With Fire Alarm Systems
Reliable-fire-protection is the option for homeowners who’d rather have a licensed technician handle wiring, interconnect faults, or full system upgrades instead of troubleshooting a hardwired base alone. Battery swaps are simple. Diagnosing why three interlinked alarms are all chirping, or replacing a unit that’s aged past its service life while keeping your system code-compliant, is a different job entirely.
A service visit typically covers a full inspection of your alarm system, replacement of any expired or malfunctioning units, backup battery service on hardwired devices, and documentation you can hand to your insurer if needed. If your home has interconnected alarms, aging hardwired units, or wiring that looks questionable, that’s the point to stop troubleshooting solo. Visit the fire alarm systems page to request a free quote and get a technician scheduled for an inspection.
Manufacturer and Retailer Resources for Battery Replacement
For model-specific instructions beyond this guide, check these direct sources: First Alert’s 9V replacement steps cover exact procedures for their units, Home Depot’s how-to guide walks through general battery swaps, and Lowe’s instructions address both hardwired and battery-only alarms.
Sources
- Smoke alarm chirping: what to do when your smoke alarm keeps beeping
- How to change smoke alarm batteries (Home Depot, 2023)
- How to replace 9V batteries on smoke or CO alarms (First Alert support)
- How to change smoke alarm battery (Lowe’s how-to)